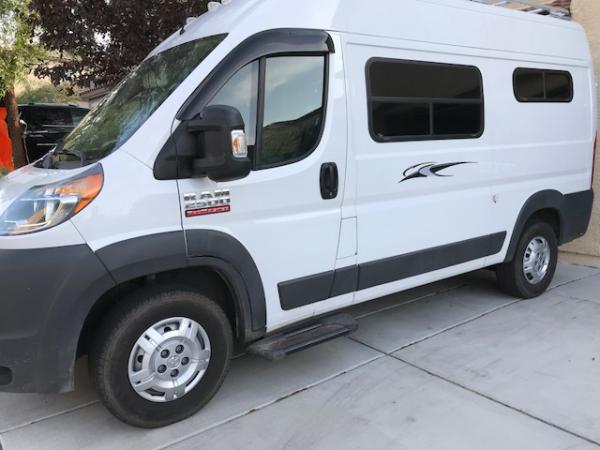
Van window replacement is not just about fixing a broken pane; it’s about upgrading your van’s aesthetics, improving visibility, and enhancing your on-road safety. Whether you’re driving a cargo van, a camper, or a passenger van, clear and intact windows are crucial for a comfortable and secure journey. In this guide, we’ll cover everything you need to know about van window replacement, ensuring you have the knowledge to make the best choices for your vehicle.
Why Van Window Replacement Matters
 Van windows are susceptible to a range of damages, from stone chips while driving to accidental breakages. Not only is a damaged window a security risk, but it can also impair your vision, leading to unsafe driving conditions. Moreover, a broken window can
affect the temperature control within your van, causing discomfort in both hot and cold weather.
Recognizing When It’s Time for Replacement
It’s crucial to know when to replace your van windows. Look out for these signs:
- Cracks or Chips: Even small cracks can quickly spread and compromise the window’s integrity.
- Difficulty in Operation: If opening and closing the window becomes a challenge, it could be time for a replacement.
- Fogging Between Panes: For double-paned windows, fogging indicates a seal failure and necessitates a replacement.
- Noticeable Wear and Tear: Scratches and discoloration can affect visibility and the overall look of your van.
Choosing the Right Windows for Your Van
Selecting the correct type of window is vital for your replacement project. You have to consider:
- Material: Most van windows are made from tempered glass, which is designed to shatter into small pieces without sharp edges for safety.
- Tinting: Tinted windows can provide privacy and UV protection, as well as reduce heat buildup inside your van.
- Style: Sliding windows, crank-out windows, and fixed panes are some of the styles you can choose based on your needs and preferences.
The Replacement Process: A Step-by-Step Guide from MotionWindows.com
Van window replacement can be a straightforward DIY task when you have access to the right resources. At MotionWindows.com, we provide a step-by-step guide that simplifies the replacement process:
1. Remove the Old Window: Start by carefully removing the damaged window. Ensure all glass shards and old adhesive are completely cleared from the frame.
2. Prepare the Frame: A clean frame is crucial for a successful installation. Make sure it’s free of dirt and debris.
3. Install the New Window: Using your new window from MotionWindows.com, follow our guide to apply adhesive and position the window correctly.
4. Sealing: After the window is secured and the adhesive has set, you’ll apply a sealant to waterproof the edges.
Our guide at MotionWindows.com is designed to take you through each of these steps in detail, ensuring a seamless installation process. With our help, you can achieve professional-looking results and a renewed sense of confidence in your van’s appearance and functionality.
Aftercare: Maintaining Your New Van Windows
Proper maintenance is key to extending the life of your new van windows. Regular cleaning with the right products, frequent inspections for any signs of damage, and immediate actions for any repairs will keep your windows in top condition.
Conclusion: Enhancing Your Van Life
Van window replacement is more than a mere maintenance task—it’s an upgrade to your vehicle’s functionality and style. Whether you use your van for daily commutes, business deliveries, or adventurous road trips, having pristine windows is essential for an optimal driving experience. By understanding the importance of timely replacements, choosing the right windows, and following proper installation procedures, you’ll ensure that your van remains a reliable companion on all your journeys. So, roll down your new windows and enjoy the ride, secure in the knowledge that you’ve invested wisely in your van’s upkeep.